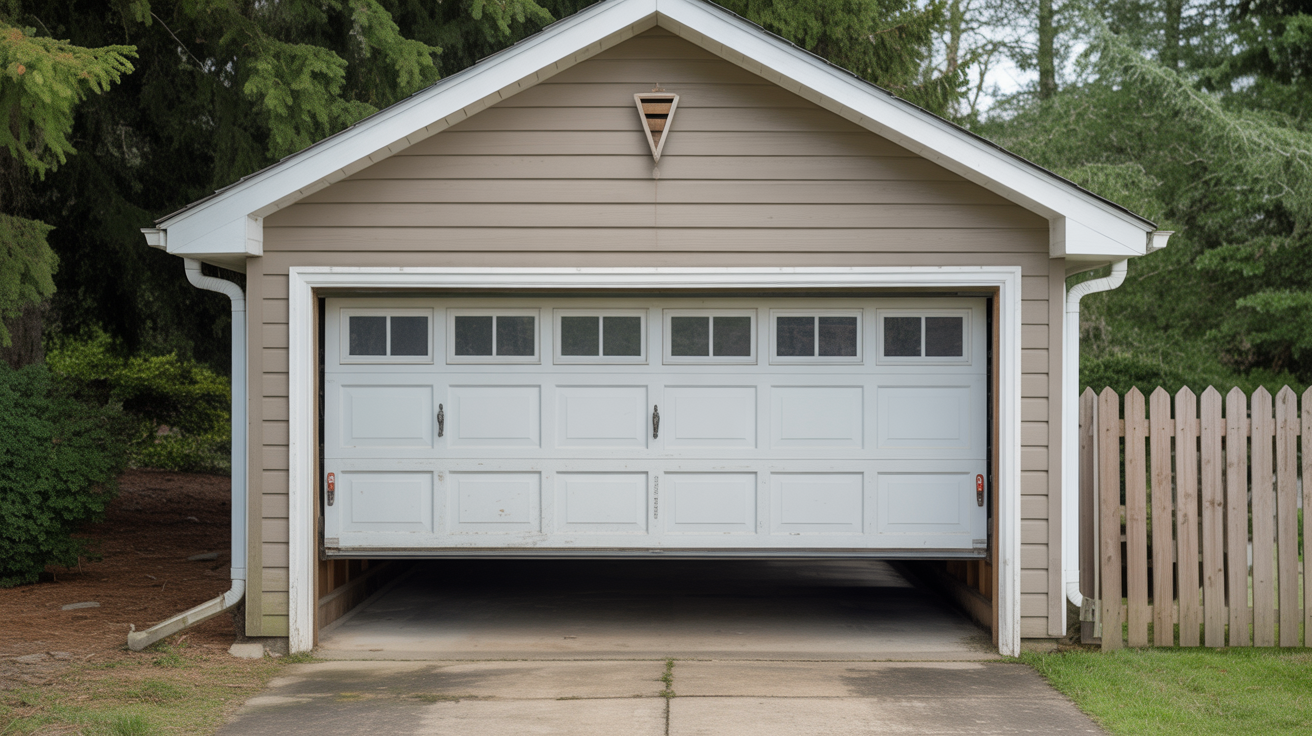
Tired of getting out of your car in the rain to open your garage door? A garage door keypad can solve this problem. This small device mounts on the outside of your garage and lets you open the door by entering a code.
Garage door keypads offer both convenience and security. You can give access to family members without making extra keys.
If someone loses their code, you can simply change it. The best part? Garage door keypad programming is easier than most people think.
This guide will walk you through the complete process. You’ll learn two main methods for setting up your keypad. We’ll also cover how to change your PIN and add temporary codes for guests. By the end, you’ll be confident in managing your garage access system.
Method 1: Programming Using the Wall Control
Most modern garage door systems include a wall-mounted control panel inside your garage. This panel makes garage door keypad programming quick and straightforward.
You won’t need any tools or a ladder for this method.
Step 1: Clear the Garage Door Area of Obstructions

Safety should be your top priority when working with garage doors. Any items left in the door’s path could cause damage to your property or the door mechanism itself during testing.
Move any boxes, bikes, or tools away from the door. This prevents accidents during testing. Take a moment to scan the entire area, including overhead spaces where the door travels.
Step 2: Locate the LEARN Button on the Wall Control

The wall-mounted control panel serves as your command center for programming. This button is your gateway to setting up new access codes for your keypad.
Look at your wall panel. The LEARN button is usually purple, orange, or yellow. Check near the light button or program section. Some manufacturers place it behind a small cover, so you may need to lift a flap.
Step 3: Press the LEARN Button Twice Until the LED Flashes

Timing matters when activating the programming mode. The system needs to recognize your intention to add a new device or code.
Press it quickly, one right after the other. You should see a small light start blinking. This blinking light indicates the system is ready to accept your new PIN within the next 30 seconds.
Step 4: Enter Your Chosen 4-Digit PIN on the Keypad.

Your PIN selection directly impacts your garage security. The code should balance between being memorable for you and being difficult for others to guess.
Pick a code you’ll remember, but others can’t guess easily. Avoid simple numbers like 1234 or your address. Consider using a combination of numbers that relate to a memorable date or pattern only you would recognize.
Step 5: Press ENTER on the Keypad

This step confirms your PIN entry and sends the information to your garage door opener. The ENTER button completes the programming sequence.
This button might be labeled differently depending on your model. Look for ENTER, SET, or a checkmark symbol. Press it firmly to ensure the system registers your input.
Step 6: Watch for the Garage Door Opener Lights to Blink

Visual confirmation prevents you from wondering if the programming worked. The blinking lights serve as your system’s way of acknowledging the new code.
The main lights on your opener should flash once or twice. This tells you the system accepted your code. If you don’t see any lights blink, the code may not have saved properly.
Step 6: Test Your New PIN to Ensure It Works

Testing immediately after programming helps you catch any issues while you’re still in setup mode. This final check gives you peace of mind that your keypad is fully functional.
Enter your code and press ENTER again. The door should move. If it doesn’t, repeat the steps from the beginning. Sometimes the timing window expires, requiring you to start fresh.
That’s it! Your keypad is now programmed and ready to use. Most people finish this process in less than five minutes. If you run into problems, double-check that you pressed the LEARN button correctly and entered your PIN within the time window.
Method 2: Programming Using the Garage Door Opener
Some garage systems require you to program directly through the main opener unit. This method needs a ladder since the opener sits on your garage ceiling. Garage door keypad programming through the opener follows similar steps but with a few key differences.
You’ll work faster with a helper for this method. One person can stay on the ladder by the opener while another person works the keypad. This saves you from climbing up and down multiple times.
Step 1: Set Up Your Ladder Safely Beneath the Garage Door Opener

Ladder safety cannot be overstated when working at heights. A stable foundation prevents injuries and lets you focus on the programming task.
Make sure the ladder is stable and on flat ground. Have someone hold it if possible. Position the ladder so you can comfortably reach the opener unit without stretching or leaning to one side.
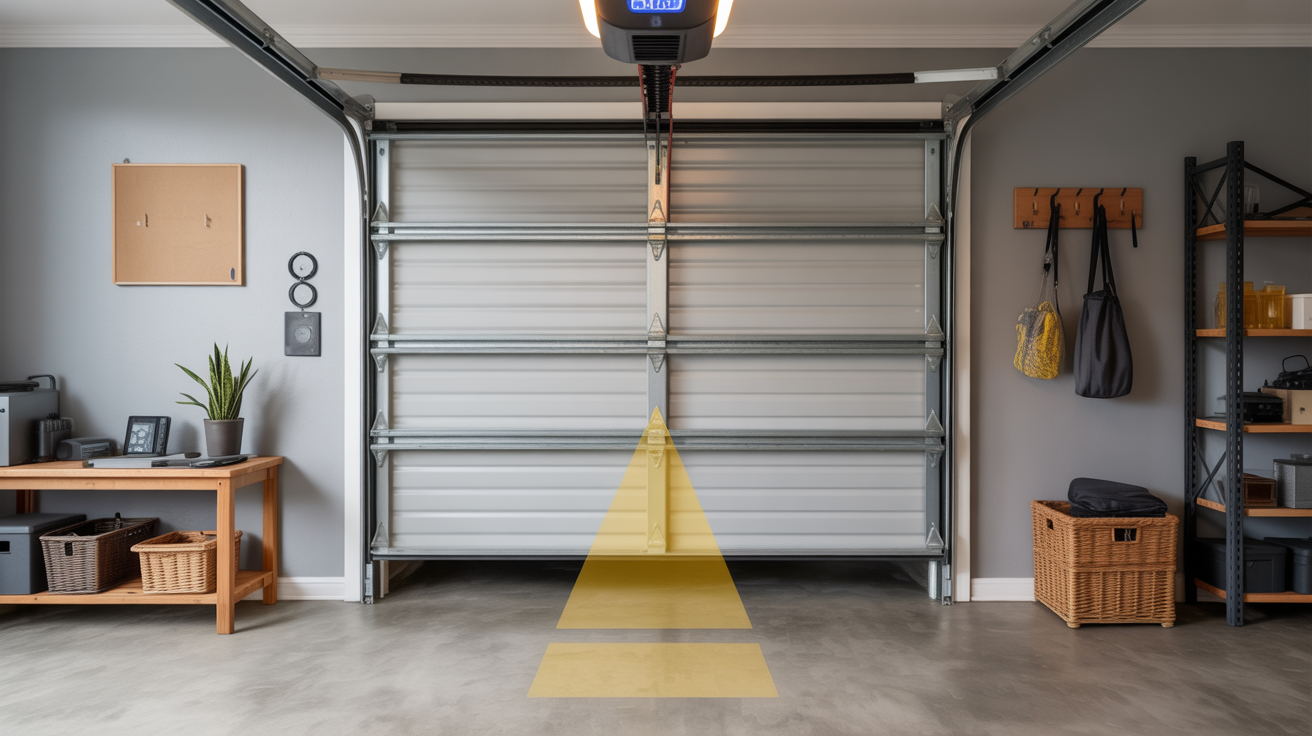
Step 2: Find the LEARN Button on the Back or Side of the Opener Unit

The opener unit houses all the electronic controls for your garage door system. Locating the LEARN button may require some searching since different brands place it in various locations.
You might need a flashlight to see it clearly. The button color varies by brand. Common locations include near the antenna wire or close to where the power cord connects to the unit.
Step 3: Press the LEARN Button Once and Watch for the Indicator Light

Activating the programming mode at the opener level starts your 30-second countdown. This brief window requires you to work efficiently but carefully.
The light will start flashing. You now have about 30 seconds to complete the next steps. Keep an eye on this indicator light throughout the process to know the system is still in programming mode.
Step 4: Quickly Go to Your Keypad and Enter Your 4-Digit PIN.

Speed matters here, but accuracy is equally important. A rushed entry with mistakes means you’ll need to start the entire process again.
Move fast, but don’t rush so much that you make mistakes. Remember, you only have 30 seconds. If you have a helper, this is where teamwork really pays off—they can enter the code while you monitor the opener.
Step 5: Press ENTER on the Keypad

Completing your PIN entry triggers the communication between the keypad and opener. This button press sends your chosen code to the system’s memory.
Do this right after entering your PIN. The system is still waiting for confirmation that you’ve finished entering your code. Hesitating too long may cause the programming window to close.
Step 6: Look for the Opener Lights to Blink
This visual signal confirms successful programming. Both lights and sound may indicate that your new code has been saved to the system.
This confirms your code was saved. You might hear a clicking sound, too. The combination of visual and audio feedback lets you know the keypad is now linked to your opener.
Step 7: Test the System by Entering Your PIN Again

A successful test means you can confidently put away your ladder and tools. This verification step ensures you won’t need to climb back up to troubleshoot later.
Make sure everything works before putting away your ladder. Enter your full PIN and press ENTER to open or close the door. Run the test two or three times to confirm consistent operation.
How to Change Your Existing Garage Door Keypad PIN?

Maybe you want a new code for security reasons. Or perhaps you gave your PIN to a repair person and want to change it after the work is done. Either way, updating your code is simple.
Changing your PIN doesn’t require the LEARN button. You can do it right from the keypad itself. The whole process takes less than a minute.
- Enter your current PIN: Type in the code that currently opens your door. Do not press ENTER yet.
- Press and hold the # button: Keep holding it until the lights blink twice. Two blinks indicate the system is ready for a new code.
- Enter the new 4-digit PIN: Choose a code different from your old one. Make it easy to remember but not obvious.
- Press ENTER: The system will process your new PIN.
- Confirmation: The lights will blink once. One blink means the change was successful, and your new PIN is now active.
Your old code stops working immediately after this process. Test your new PIN right away to make sure it saved correctly.
If the door doesn’t open with your new code, you may need to repeat the steps. Write down your new PIN somewhere safe inside your home, just in case you forget it later.
Adding a Temporary PIN for Guests or Service Providers

Temporary codes are perfect when contractors need garage access while you’re at work. You can also use them for house guests or dog walkers. These special codes work for a limited time and then stop automatically. This feature adds serious security to your system.
Setting up a temporary PIN is almost like regular garage door keypad programming. The difference is that you also set when the code expires.
Most systems let you choose a time limit or some uses. For example, you might set a code that works for 24 hours or one that works only five times.
The exact steps vary by keypad model. Usually, you enter a master code first, then press a special button like * or #. Next, you create the temporary PIN and set its limits. Check your keypad’s manual for specific instructions.
Once the time runs out or the use limit hits zero, that temporary code stops working. You don’t need to delete it manually. This means you can give access without worrying about changing codes later.
Important Tips for Garage Door Keypad Security and Maintenance
Your keypad is outside in all kinds of weather. Taking care of it helps it last longer and work better. A few simple habits can prevent the most common problems.
Security matters just as much as maintenance. Your garage often connects to your house. That makes your keypad PIN almost as important as your front door key. Treat it with the same level of care.
- Always keep the keypad cover closed (protect from weather): The cover shield keeps rain, snow, and dirt off the buttons. Close it after each use.
- Choose a random, memorable PIN: Avoid birthdays, addresses, or repeating numbers. Pick something only you would know.
- Never share your PIN unnecessarily: Only give your code to people who truly need garage access. The more people who know it, the less secure it becomes.
- Change PINs when moving into a new home: Previous owners might still have the old code. Change it on day one of moving in.
- Consider a factory reset for the previous owner’s settings: This clears all old codes and gives you a fresh start. You’ll need to reprogram everything afterward.
- Regular maintenance of keypad buttons: Wipe the keypad clean every few months. Check that all buttons press smoothly. Replace batteries if your model uses them.
Temperature changes can affect your keypad over time. Very cold weather might make buttons less responsive. Very hot days can fade the numbers. If you notice problems, check that the keypad is mounted securely. Loose mounting can let moisture get inside. A yearly check of your garage door keypad programming settings is also smart. Make sure your codes still work and update them if needed.
Conclusion
Setting up your garage door keypad doesn’t require technical skills or special tools. As you’ve learned, the basic programming steps are the same whether you use the wall control or the main opener. Most people finish the job in under ten minutes.
The security benefits make this small-time investment worthwhile. You can create codes for different family members. Temporary codes let you give access without long-term concerns. When codes need changing, you can do it yourself in seconds.
Don’t put off programming your keypad any longer. Pick a 4-digit PIN right now and follow the steps from Method 1 or Method 2. Test it a few times to build confidence. You’ll wonder why you didn’t set this up sooner. The daily convenience of keypad access makes life simpler.
Frequently Asked Questions
What Should I Do If My Keypad Buttons Stop Working?
Weather damage is the most common cause of button failure. Rain and snow can get inside if the cover stays open. Always close the cover after use. If buttons still don’t work, the keypad may need replacement. Most hardware stores carry standard models.
Can I Have Multiple PINs for Different Family Members?
Yes, most modern systems support multiple codes. You can program several permanent PINs for family members. Temporary codes work well for occasional visitors. Check your manual to see how many total codes your system allows. Managing different codes gives everyone their own access.
Where Can I Find the LEARN Button on My Garage Door Opener?
The LEARN button sits on the back or side of the main opener unit mounted to your ceiling. Look for a small square or round button. Colors vary by brand. Common colors include purple, orange, yellow, and red. You’ll need a ladder to reach it.
How Long Does the Programming Process Take?
Most people finish garage door keypad programming in five to ten minutes. The actual button pressing takes less than a minute. The 30-second window after pressing LEARN is the time-sensitive part. Having your PIN chosen beforehand speeds things up. Gather your ladder and tools before starting.
Will a Factory Reset Delete My Keypad Programming?
Yes, a factory reset erases all programmed codes from your system. This includes keypad PINs, remote controls, and smart home connections. You’ll need to reprogram everything from scratch. Only do a factory reset when necessary, like after buying a used home or if you’ve lost track of who has access.